So you’re standing in your kitchen, staring at a $12 package of shiitake mushrooms from the grocery store, wondering if growing your own is actually possible. Trust me, I’ve been there. Three years ago I was dropping $200+ monthly on gourmet mushrooms and getting frustrated every time I walked past the produce section.
Here’s what I learned after ruining my first four attempts and finally getting my setup dialed in: not all mushrooms are created equal when you’re starting out. Some strains will forgive your mistakes, others will punish you for breathing wrong. After testing dozens of varieties and helping other beginners avoid my expensive mistakes, I’ve narrowed it down to five foolproof options that actually work.
These aren’t just the easiest to grow – they’re the ones that’ll give you consistent harvests, won’t break your budget, and taste amazing enough that your family will stop questioning your new hobby.
Why These 5 Mushrooms Are Perfect for Beginners
Before we dive into specifics, let me explain why I ranked these particular varieties. After three years of growing and probably $2000 in trial and error (yeah, it adds up fast), I’ve learned that beginner success comes down to three factors:
Forgiveness factor – How many mistakes can you make before the culture dies? Blue oysters will practically grow in a coffee cup, while some exotic varieties need perfect conditions or they just give up.
Visual feedback – Can you actually tell what’s happening? Pink oysters turn bright magenta when they’re ready to fruit, making it obvious when to adjust humidity. Compare that to some varieties where you’re basically guessing.
Speed to harvest – Faster growth means less time for contamination to set in and more confidence when you see quick results. Nothing kills motivation like waiting two months to find out you messed up week one.
I’ve ranked these based on real growing experience, not marketing hype. Each one passed my “could my neighbor Mike grow this successfully” test. (Mike kills houseplants, so that’s saying something.)
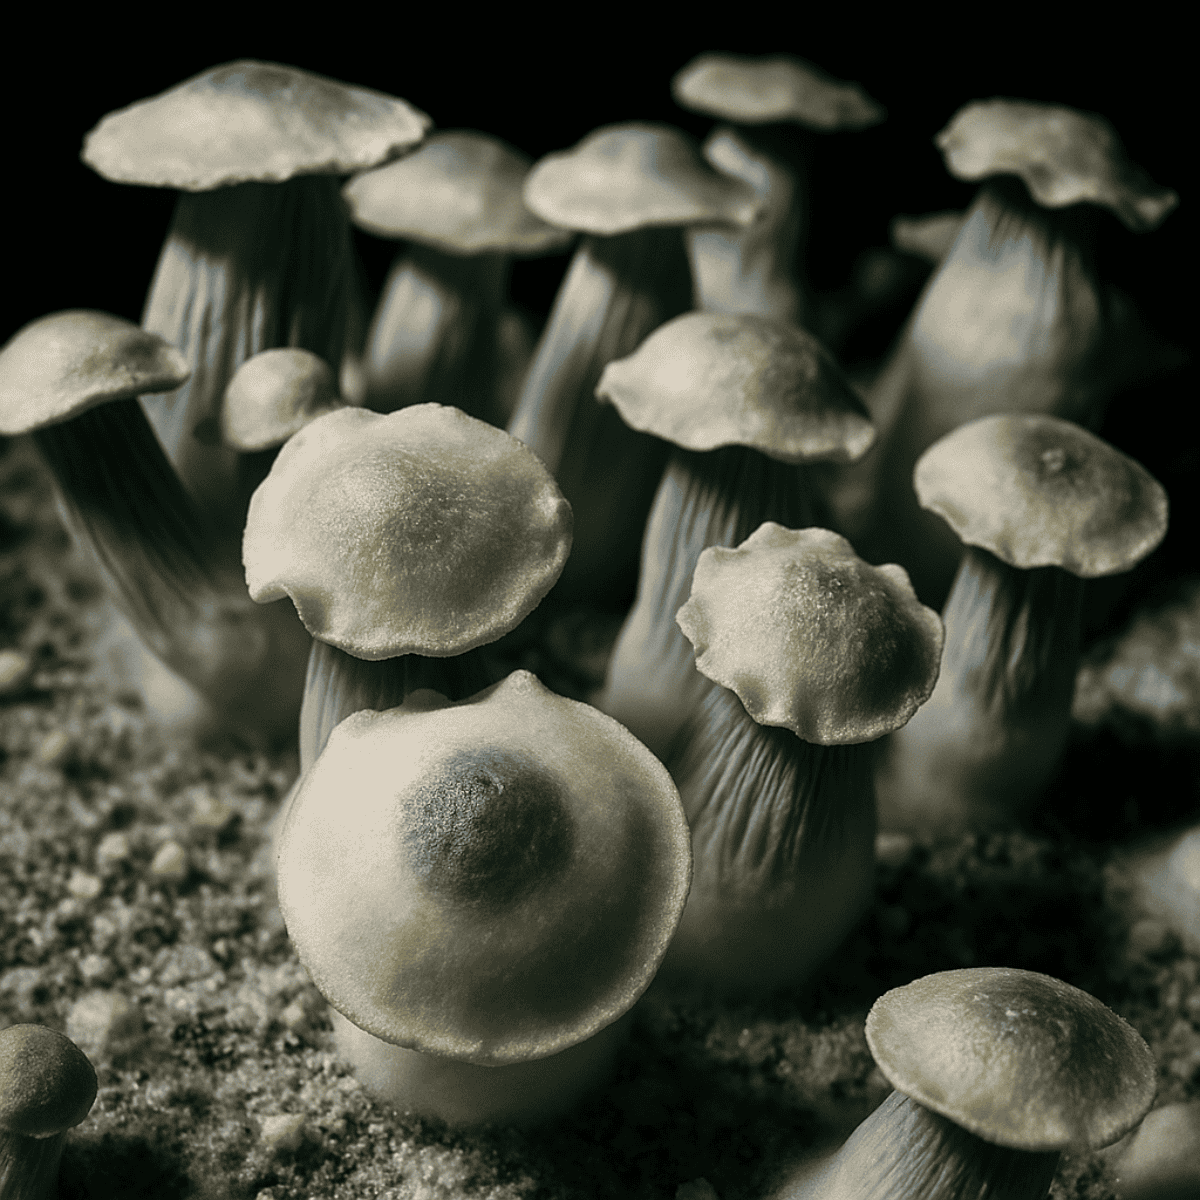
Blue Oyster (Pleurotus ostreatus) - The Ultimate Beginner's Friend
Foolproof Factor: Cold-loving, incredibly forgiving temperature range
Blue oysters are basically the golden retriever of mushroom cultivation – friendly, adaptable, and almost impossible to screw up completely. I’ve seen these things fruit in temperatures ranging from 45°F to 75°F, which means your basement, garage, or spare bedroom will probably work fine.
Why they’re foolproof: The cold tolerance is huge for beginners because temperature control is usually the biggest headache. While most gourmet varieties demand precise 55-65°F fruiting conditions, blue oysters will happily produce flushes in much cooler temperatures. I’ve harvested decent clusters when my grow room dropped to 48°F during a cold snap.
What to expect: Pin formation happens fast – usually within 3-5 days of introducing fruiting conditions. The pins start as tiny blue dots that look almost like mold (don’t panic, they’re supposed to look weird). Within a week, you’ll have recognizable mushroom shapes, and harvest typically happens 10-14 days after pinning.
Taste and cooking: Mild, slightly sweet flavor that works in basically everything. They don’t have the strong “mushroomy” taste that turns some people off. I use them in stir-fries, pasta, and soups. The texture holds up well to cooking, unlike some oyster varieties that turn mushy.
Common mistakes to avoid: Don’t over-mist the pins directly. Blue oysters prefer humid air rather than water droplets sitting on the mushrooms. I learned this when my first flush developed brown spots from too much direct moisture.

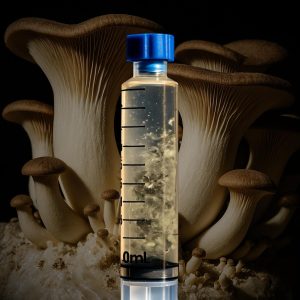
Blue Oyster (Pleurotus ostreatus) - The Ultimate Beginner's Friend
Pleurotus ostreatus
Looking for Blue Oyster mushroom mycelium? Fungushead is your companion on the path to a thriving harvest, and your reliable source for the Blue Oyster Mushroom Liquid Culture Syringe featuring the esteemed Pleurotus ostreatus.
Pink Oyster (Pleurotus djamor) - The Visual Confidence Builder
Foolproof Factor: Fast growth with incredible visual feedback
If blue oysters are the most forgiving, pink oysters are the most encouraging. These tropical beauties grow fast and turn bright magenta when they’re ready to harvest, making it nearly impossible to miss your window.
Why they’re foolproof: The color change is like having a built-in timer. Young pins start pale yellow, transition through orange, and mature to vibrant pink-magenta. When they hit full color, you know it’s harvest time. No guesswork, no wondering if you should wait another day.
Growing requirements: Pink oysters prefer warmer conditions (70-80°F), which actually makes them easier for most people since you can grow them at normal room temperature. No need for cooling equipment or basement setups.
Speed advantage: These are probably the fastest oyster variety I’ve grown. Pins appear 2-4 days after fruiting initiation, and you’re usually harvesting within 8-12 days. Fast growth means less opportunity for contamination and quicker feedback on your technique.
Cooking notes: The bacon-like texture mentioned in their description is real. When cooked properly (high heat, don’t overcrowd the pan), they develop a meaty texture and slightly nutty flavor. My wife, who used to hate mushrooms, actually requests these now.
Temperature tip: If your house runs cool, pink oysters might struggle. I keep mine near a heating vent during winter months. Room temperature (68-72°F) works fine, but they really take off when it hits 75°F+.

Pink Oyster (Pleurotus djamor) - The Visual Confidence Builder
Pleurotus djamor
Pink Oyster mushrooms are special because of their interesting color, massive spore load and preference for warmer climates. Our liquid culture is derived from carefully selected, genetically distinguished pink oyster mushrooms also known as Pleurotus djamor.
King Oyster (Pleurotus eryngii) - The Mistake-Proof Giant
Foolproof Factor: Large size makes everything easier to see and manage
King oysters are like growing mushrooms in slow motion – everything is bigger and more obvious, which removes a lot of the guesswork that trips up beginners. Plus, they’re probably the most valuable mushroom you can grow in terms of grocery store pricing.
Why size matters for beginners: When your pins are the size of pencil erasers instead of pinheads, you can actually see what’s happening. Pin formation, development stages, harvest timing – it’s all magnified and easier to track. I wish I’d started with kings instead of trying to figure out tiny shiitake pins with a magnifying glass.
Growing characteristics: King oysters develop differently than other oyster varieties. Instead of clusters, you get individual stems with small caps. The thick stems are actually the prized part – they have a meaty, almost scallop-like texture when cooked.
Harvest timing: You want to harvest when the caps start to flatten out but before they turn upward. The stems should feel firm but not rock-hard. With kings, you’ve got a longer harvest window than cluster-forming varieties, so less pressure to get the timing perfect.
Value proposition: King oyster stems sell for $8-12 per pound at specialty stores. A single flush from one growing container can easily yield 2-3 pounds, making this one of the most cost-effective varieties to grow.
Pro tip: Cut the stems into thick medallions and sear them like scallops. Seriously, the texture and flavor are remarkably similar, and guests often can’t tell the difference.
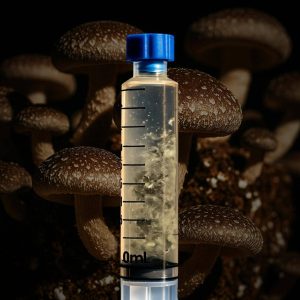
King Oyster (Pleurotus eryngii) - The Mistake-Proof Giant
Pleurotus eryngii
Looking for Blue Oyster mushroom mycelium? Fungushead is your companion on the path to a thriving harvest, and your reliable source for the Blue Oyster Mushroom Liquid Culture Syringe featuring the esteemed Pleurotus ostreatus.
Shiitake (Lentinula edodes) - The Well-Documented Classic
Foolproof Factor: Decades of established cultivation methods and troubleshooting resources
Shiitake might seem intimidating because they’re associated with traditional Japanese cultivation, but that’s actually why they’re perfect for beginners. There’s more information available about growing shiitake than probably any other gourmet variety.
Why the documentation matters: Every problem you’ll encounter with shiitake has been solved by someone else already. Temperature issues? There’s a forum thread about it. Pin formation problems? Multiple YouTube videos. Contamination concerns? Detailed guides with photos. The learning curve is shorter because you’re not pioneering new territory.
Growing timeline: Shiitake take longer than oyster varieties – expect 14-21 days from inoculation to harvest. But this slower timeline actually works in your favor as a beginner because you have more time to observe and adjust conditions without missing critical windows.
Temperature requirements: Most shiitake strains fruit well between 55-65°F, which is cooler than room temperature but easier to maintain than some exotic varieties that need precise control. A basement location or cool closet often works perfectly.
Flavor and nutrition benefits: This is where shiitake really shine. The umami flavor is intense and distinctive – you know you’re eating something special. Plus, there’s actual research backing up the health benefits, including immune system support and cholesterol reduction.
Quality consideration: Home-grown shiitake taste noticeably different from store-bought. Commercial shiitake are often harvested young and lose flavor during transport. Your fresh shiitake will have deeper, richer flavor that makes the growing effort worthwhile.
Common challenge: Shiitake can be fussy about humidity levels. They need high humidity (85-95%) for pin formation but good air circulation to prevent bacterial problems. A simple humidity controller helps, but you can also manage this manually with regular misting and fan cycles.
Shiitake (Lentinula edodes) - The Well-Documented Classic
Lentinula edodes
Looking for Blue Oyster mushroom mycelium? Fungushead is your companion on the path to a thriving harvest, and your reliable source for the Blue Oyster Mushroom Liquid Culture Syringe featuring the esteemed Pleurotus ostreatus.
Chestnut (Pholiota adiposa) - The Reliable Producer
Foolproof Factor: Hardy strain that delivers consistent results across varying conditions
Chestnut mushrooms are the steady workhorses of gourmet cultivation. They’re not flashy like pink oysters or prestigious like shiitake, but they’re remarkably consistent and forgiving of beginner mistakes.
Why they’re foolproof: Chestnuts tolerate a wider range of growing conditions than most gourmet varieties. Humidity fluctuations that would stress other mushrooms barely affect chestnut production. Temperature swings? They adapt. Less-than-perfect air circulation? They still fruit.
Growing characteristics: Chestnut mushrooms form dense clusters with small, brown caps and white stems. The clusters are compact and easy to harvest all at once, unlike some varieties where individual mushrooms mature at different rates.
Texture advantage: The crispy texture mentioned in the product description is real and unique. Even after cooking, chestnuts maintain more firmness than most other varieties. They’re perfect for stir-fries where you want mushrooms that don’t turn to mush.
Yield reliability: In my experience, chestnuts produce the most consistent yields flush after flush. While oyster varieties sometimes give you one great flush followed by diminishing returns, chestnuts maintain production across multiple harvests.
Flavor profile: Nutty and mild with a pleasant earthy undertone. Not as strong as shiitake, not as mild as oysters – somewhere in the middle that appeals to most palates. The flavor holds up well to strong seasonings and sauces.
Storage benefit: Chestnut mushrooms keep longer than most oyster varieties after harvest. I’ve stored them in the refrigerator for 10-12 days with minimal quality loss, compared to 5-7 days for most oysters.
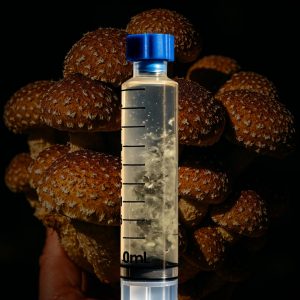
Chestnut (Pholiota adiposa) - The Reliable Producer
Pholiota adiposa
Looking for Blue Oyster mushroom mycelium? Fungushead is your companion on the path to a thriving harvest, and your reliable source for the Blue Oyster Mushroom Liquid Culture Syringe featuring the esteemed Pleurotus ostreatus.
Key Takeaways
Real-World Cost Breakdown: What You’re Actually Paying
Let me be honest about costs because this is where a lot of beginners get surprised. After tracking my expenses for two years, here’s what growing these five varieties actually costs:
Initial investment (assuming you start from scratch):
- Basic pressure cooker: $89 (don’t buy the cheapest one, I learned that lesson)
- Still air box materials: $25
- Growing containers: $40 for a dozen 6-quart tubs
- pH meter and thermometer: $35
- Miscellaneous supplies (alcohol, cotton, etc.): $20
- Total startup: ~$210
Per-harvest costs (this is where it gets interesting):
- Liquid culture syringe: $15-20 each
- Growing substrate: $8-12 per batch
- Sterilization supplies: $3-5 per batch
- Total per growing cycle: $26-37
What you actually get: Each liquid culture typically provides 3-4 growing cycles if you’re careful about sterile technique. Average harvest per cycle ranges from 1-3 pounds depending on the variety and your setup. So you’re looking at roughly $7-12 per pound of fresh gourmet mushrooms.
Compare that to grocery store prices of $8-16 per pound for the same varieties, and you break even pretty quickly while getting much fresher, better-tasting mushrooms.
Equipment You Actually Need (and What You Can Skip)
After wasting money on equipment that sounded important but wasn’t, here’s what actually matters:
Essential equipment:
- Pressure cooker (15+ quart capacity)
- Clear storage containers with tight-fitting lids
- Basic pH meter (soil type works fine)
- Digital thermometer with probe
- Spray bottle for misting
- 70% isopropyl alcohol
Nice to have but not essential:
- Humidity controller ($45-80) – makes life easier but you can manage manually
- Small fan for air circulation – a computer case fan works great
- Heat mat for temperature control – only needed if your space runs cold
Equipment to skip initially:
- Expensive flow hoods (still air box works fine for beginners)
- Automated misting systems (hand misting works better until you understand the requirements)
- pH buffers and adjusters (unnecessary for most substrate recipes)
The honest truth is that I spent probably $400 on equipment I thought I needed but rarely use. Start simple and upgrade only when you identify specific problems that equipment can solve.
Common Mistakes That Kill Beginner Harvests
Based on helping dozens of new growers troubleshoot problems, here are the mistakes that derail most first attempts:
Over-sterilization anxiety – Yes, cleanliness matters, but I’ve seen beginners spend so much time worrying about contamination that they never actually start growing. Follow basic sterile technique, but don’t let perfectionism paralyze you.
Temperature obsession – Trying to maintain exact temperatures often causes more problems than temperature fluctuations. Most of these varieties tolerate 10-15 degree swings just fine.
Misting madness – More humidity is not always better. I’ve seen beautiful pin sets ruined by over-eager misting that created bacterial problems. Humid air, not water droplets.
Harvest timing panic – Waiting for “perfect” harvest timing often means missing the window entirely. Slightly early is usually better than too late with most varieties.
Contamination catastrophizing – A little green fuzz doesn’t mean your entire operation is doomed. Isolate the problem, adjust technique, and try again. I threw away probably 50 pounds of perfectly good substrate because I panicked at minor contamination issues.
Getting Started: Your First Month Timeline
Here’s a realistic timeline based on starting with one of these five varieties:
Week 1: Order liquid culture, gather equipment, practice sterile technique with water transfers
Week 2: Prepare substrate, inoculate containers, set up growing environment
Week 3: Monitor for contamination signs, maintain temperature and humidity
Week 4: Pin formation begins (varies by variety), adjust fruiting conditions
Week 5-6: Harvest your first flush, start planning second round
The key is starting with just one variety until you get the process down. I tried to grow four different types simultaneously on my first attempt and couldn’t keep track of their different requirements.
Which One Should You Try First?
If you forced me to pick just one variety for absolute beginners, I’d recommend starting with Blue Oyster liquid culture. The temperature tolerance removes the biggest variable, the growing timeline is forgiving, and the flavor appeals to most people.
However, your choice might depend on your specific situation:
Cold growing space (basement, garage): Blue Oyster Normal room temperature: Pink Oyster
Want maximum grocery store value: King Oyster Prefer traditional flavors: Shiitake Want consistent production: Chestnut
The beauty of liquid cultures is that you can try multiple varieties without huge additional investment. Once you get one variety producing consistently, adding others becomes much easier since you’ve already figured out the basic technique.
Remember, the goal isn’t perfection on your first try. It’s learning the process well enough that your second and third attempts are significantly better. Every successful grower I know has contamination horror stories from their early days. The difference is they kept trying instead of giving up after the first failure.
Start with one variety, focus on understanding the fundamentals, and don’t be discouraged if your first harvest isn’t Instagram-worthy. My first blue oyster harvest was maybe half a pound of slightly tough mushrooms, but seeing those pins develop into actual food I could eat was enough motivation to keep going.
Three years later, I’m growing 20+ pounds monthly across eight varieties and haven’t bought grocery store mushrooms in over a year. The learning curve is real, but these five varieties will give you the best chance of early success and long-term confidence in this incredibly rewarding hobby.